So, i had my final game of the league the other week against Orks. It was a fun game even though we only managed to get to the end of turn 4, although turn 5 would have done nothing to the overall score, apart from give both of us a extra few victory points.
This game was one of the games i was hopeful of winning. There were a few big models, such as the deffdread, kill rig and the 40 wounds stompa!! There were lots of other orks but i was confident that if I could remove all these smaller orks, i could just ignore the really big models and just concentrate on objectives. This was slightly complicated by the fact i lost first turn. This was really big and i was worried I would have another repeat of the Eldar game and I would be hemmed in first turn and then not be able to get out of my deployment zone and get going.
Guard deployment
One thing to note is the split deployment, i had castled up on the left of the board but i places two infantry units and a command squad, supported by a priest and commissar on the right to either move forward and take the objective or to draw some of the ork units across that side of the board and away from my main castle.
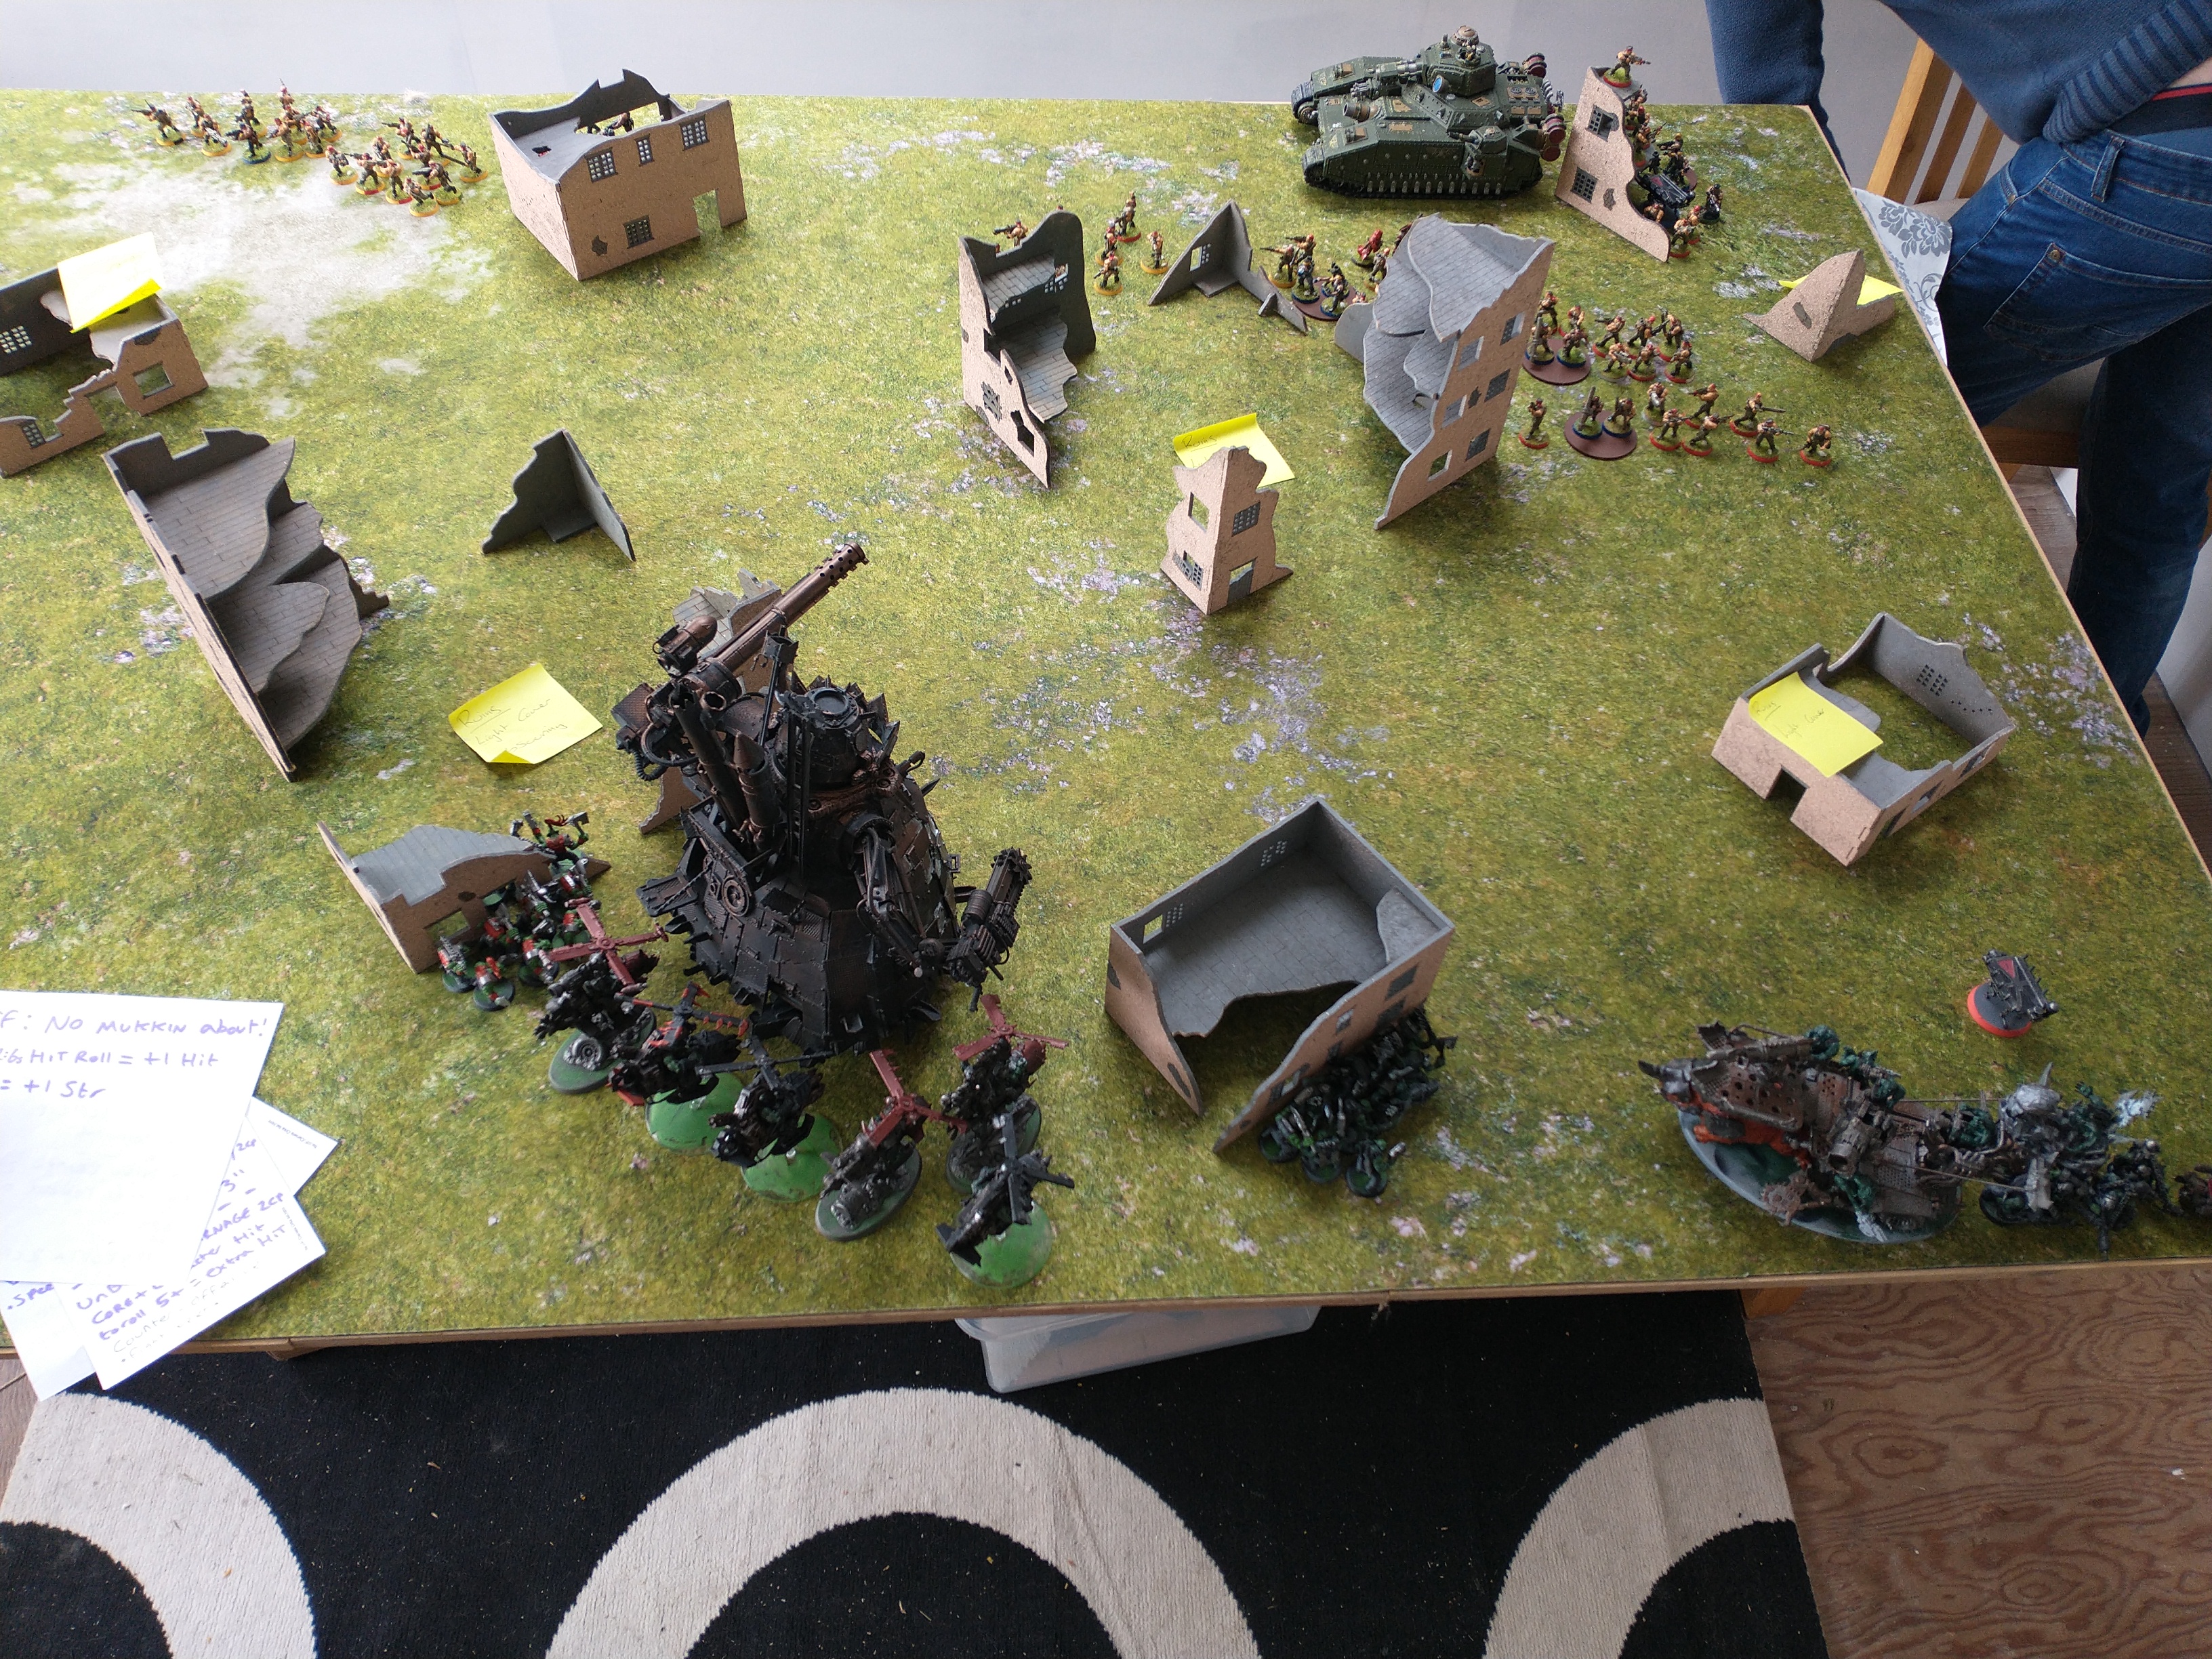
The ork deployment
The orks went all in on their right flank and i though were going to ignore the guard on my right flank. However, with first turn the orks surged forward, pushing up across the board. The Deffkoptas went to take on the guards right flank, as i had hoped but the kill rig and wartrike came streaming down my left flank. All in all the ork turn went as expected, lots of firing but not that much dead. My opponent also made, what I consider to be his first mistake of the game, razing one of his objectives (we were playing “Burn and Raze), top left of the photo below. This netted him 5 points and let him move off the objective but also denied him more points in subsequent turns.

In my turn I concentrated on the wartrike and kill rig, figuring that these were the most dangerous to me right now. Both were well up the field and the kill rig was loaded with orks. Unfortunately my hellhammer bounced some what, it did damage but not nearly as much as it should. The idea was to crack open the kill rig and then gun down the beast snagga’s inside. However by the end of the shooting phase, the rig was on 2 wounds but at least the trike was dead. So at this point i went for a bit of a Hail Mary and charge with everything i had, hoping to. E able to take the last two wounds in combat and with some good positioning, wrap and trap the model, thus killing the boyz inside. It didn’t quite go to plan however, as I only managed to take it down a single wound! I had to hope that it couldn’t kill enough of my models to form a gap big enough to disembark all the models inside.
The failed wrap and trap!
Turn 2 started as expected for the orks, lots of noise but not many casualties on my side. There was some luck on my side of things as well. My opponent tried to bring in his deffdread by my castle but with where my models had ended up, there was just not enough space for him to drop in anywhere useful, so he ended up dropping in on the far side of the board, on my right flank to deal with the models there, this i think was his second mistake of the game, as it took the deffdread out of the game. If he had waited a turn longer to bring it in, he probably could have dropped it by my castle and done some damage.
The three guardsmen in the centre that held up a stompa for TWO turns!
The other lucky break was the remaining guardsmen in the centre blocking the stompa from running through and challenging my hellhammer to a one on one fist fight. They died in a literal blaze of glory when the burna boyz got out of the stompa and toasted them, but they did their job and died gloriously for the emperor. Unfortunately in the fight phase, several addition units were able to get in to combat around the kill rig and with the combined might of the orks, they were able to clear space down one side, which would be big enough for the vast majority of the orks in the kill rig. I was however able top take the last wound off the kill rig in combat and the embarked boyz all managed to scrabble out unharmed in to a space that was literally just the right size!
Loaded Dice!
At this point in the game i was getting seriously worried about where the dice gods were placing their favours, i was having a pretty terrible time with rolls, not horrendous but not great, my opponent on the other had was having a great time, rolling above (or below when needed) average on pretty much all his dice rolls!
My turn was spent trying to hold on to the castle with the limited models i had left. My hellhammer was down to just 6 wounds at the beginning of the turn and was not going to survive another turn of shooting, the stompa was going to i get it next turn if the deffkopters didn’t. I had lost my right flank by this point, with just a company commander and commissar left, but they moved up to block the stompa again. The hellhammer focused on all the orks directly in front of itself, and alongside the infantry that remained and could destroyed the majority of them. The scions dropped in on the back field, taking my opponent undefended home objective and destroying the boyz sitting on the centre objective. My plane also dropped in this turn, heaving been kept off the board turn 1.
End of turn 2
The Castle holds
And a new castle is built
Turn 3 and this is the turn that my opponent, in my opinion made his biggest mistake, he turned the stompa around to go after the scions and flyer in his deployment zone, leaving my hellhammer alone. The stompa did do some damage to the scions but not wiping out any single unit and he wasted a lot of firepower on the flyer. The deffkoptas bounced on the hellhammer, chipping a few wounds off, but after the techpriest had repaired it last turn was not destroyed. Choosing to wipe out the commander and commissar in combat rather than charge the hellhammer, also left them open and vulnerable. Although this probably was the better option in terms of gaining victory points from blood and guts.
In my turn 3 i moved up on to the central objective and positioned myself to take out as much of the remaining orks as i could, taking down the last of the boyz, all but one deffkopta, the deffdread and the stompa, who was still on 36 wounds at this point!
End of turn 3
The remnants of the castle
The new castle digging in!
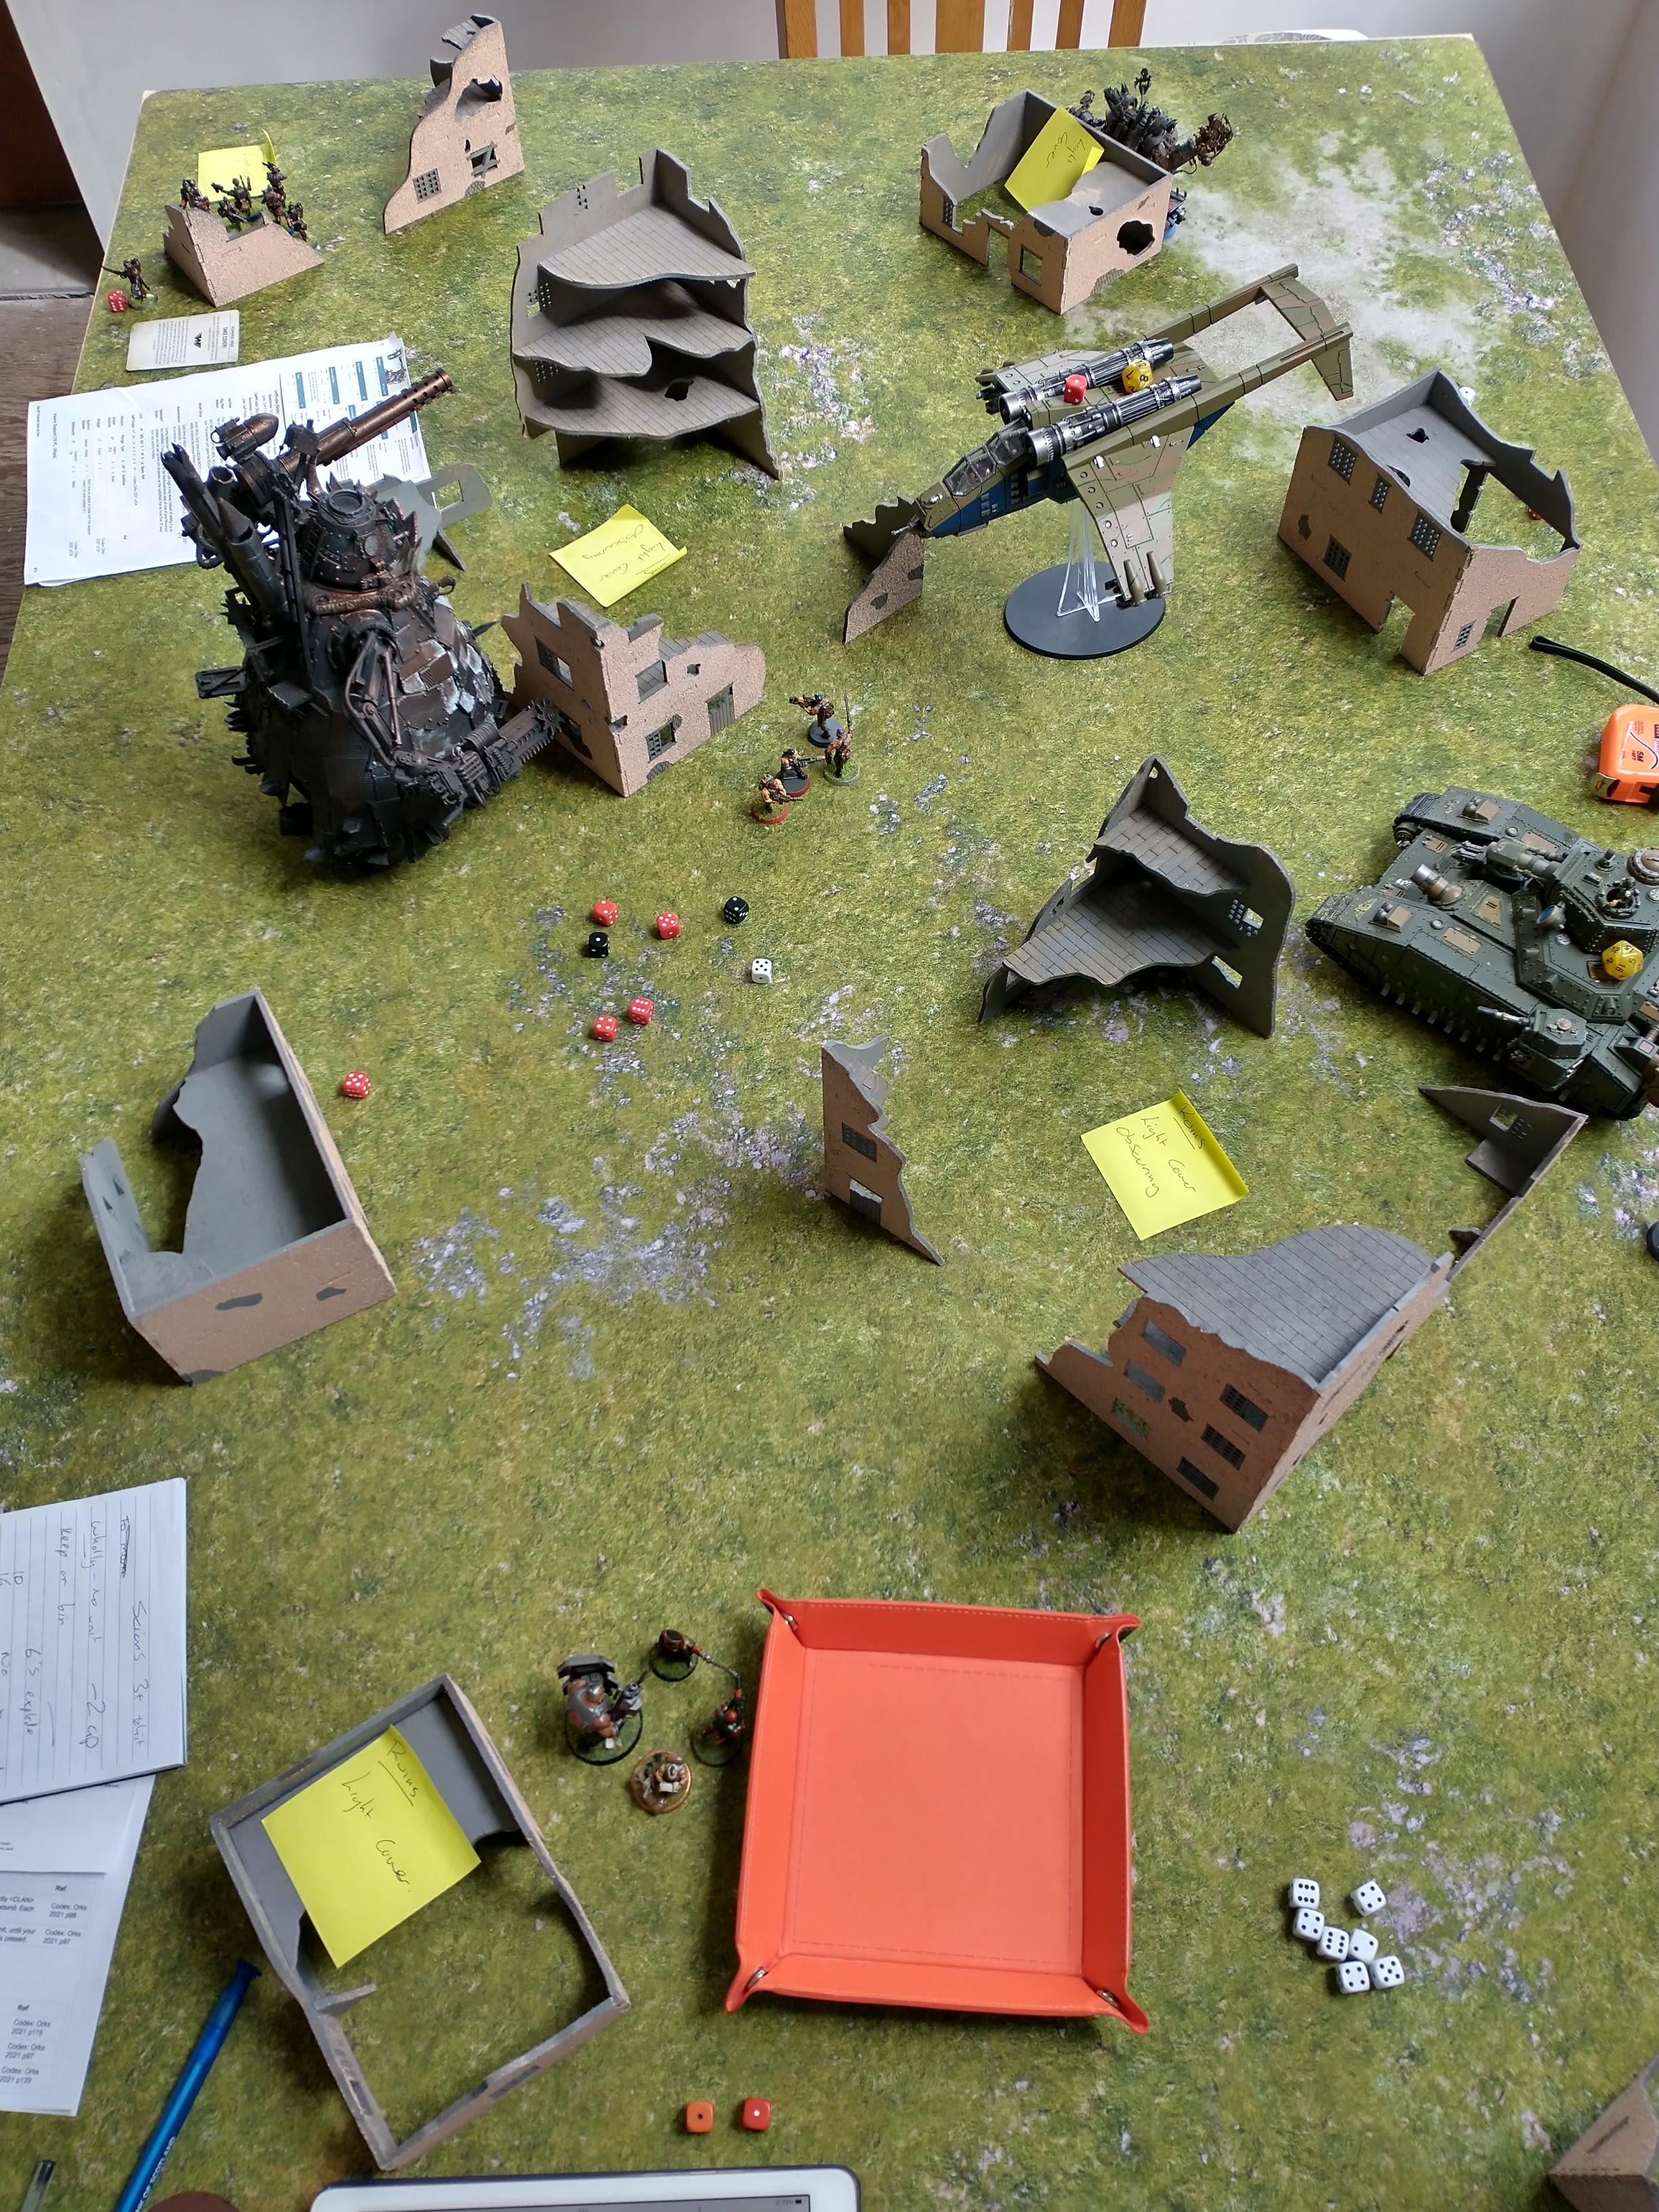
Turn 4 and due to time it was our last turn. There was not much for my opponent to do by now, the stompa decimated the units in the centre, and the deffkopta moved up to add its firepower and also charged in to try and finish off the unit of DKoK that had dropped out the flyer. At the end of the turn, 4 guardsmen remained out of the 16 or so that had started the turn stood on the objective. The scions 4+ save and take cover order helping to keep them alive a lot longer than they should have. The deffdread by now had moved up on to the objective on my right flank but was completely out of the game now. There was a little scuffle that had been going on for a while between a single ork and some guardsmen and an ogryn at the other end of the table. It had lasted a full turn already and was still going on!
Turn 4 finish
In my turn, i played only to the objectives and cards, pulling back to allow me too finish the deffkopta and claim the objective for the end game, i also raze the objective in my opponent deployment zone, as i wouldn’t need it for turn 5. The final boyz was killed off in combat, it only took 3 rounds of combat for a model to die!
End game
At the end game, the orks had a stompa on around 30 wounds (the dice got knocked and we couldn’t remember) and a deffdread on full wounds hiding in a corner, i had a hellhammer on just 5 wounds, a flyer down just a couple of wounds and about 25 infantry. While it might look like i had a significant advantage in numbers i really didn’t have the firepower or durability to take the stompa down next turn but given the ork shooting there was little chance of him being able to take out all of my remaining forces. Even though we had to call the game at the end of turn 4, looking a head to turn 5, there would have been little change in the situation. My opponent would have struggled to score many more points, gaining 5 for the primary for holding one objective and looking at they cards he would have drawn, may have managed 5 more from secondaries. However, the complete lack of infantry was hampering him, as i had hoped it would when i targeted them over his other units. In my turn 5 i would have scored 10 for the primary and looking at the cards I would have definitely scored 5 more secondaries, maybe even 10 if i had been lucky with my dice rolls. This would have left the scores about 85 to 60 or there about, not changing the overall result or within the tournament results.
As it was the game finished as a victory to the guard after a hard fought battle. I really did think that i was going to loose this one after turn 1 and the orks charge and even after turn 2 i was not convinced that i was going to be able to pull out a win. I had a really enjoyable game and it was really nice to finish on a high. Ill write up a review of the army list and lesssons i learned, just in time to forget all of them for 10th!


No comments:
Post a Comment